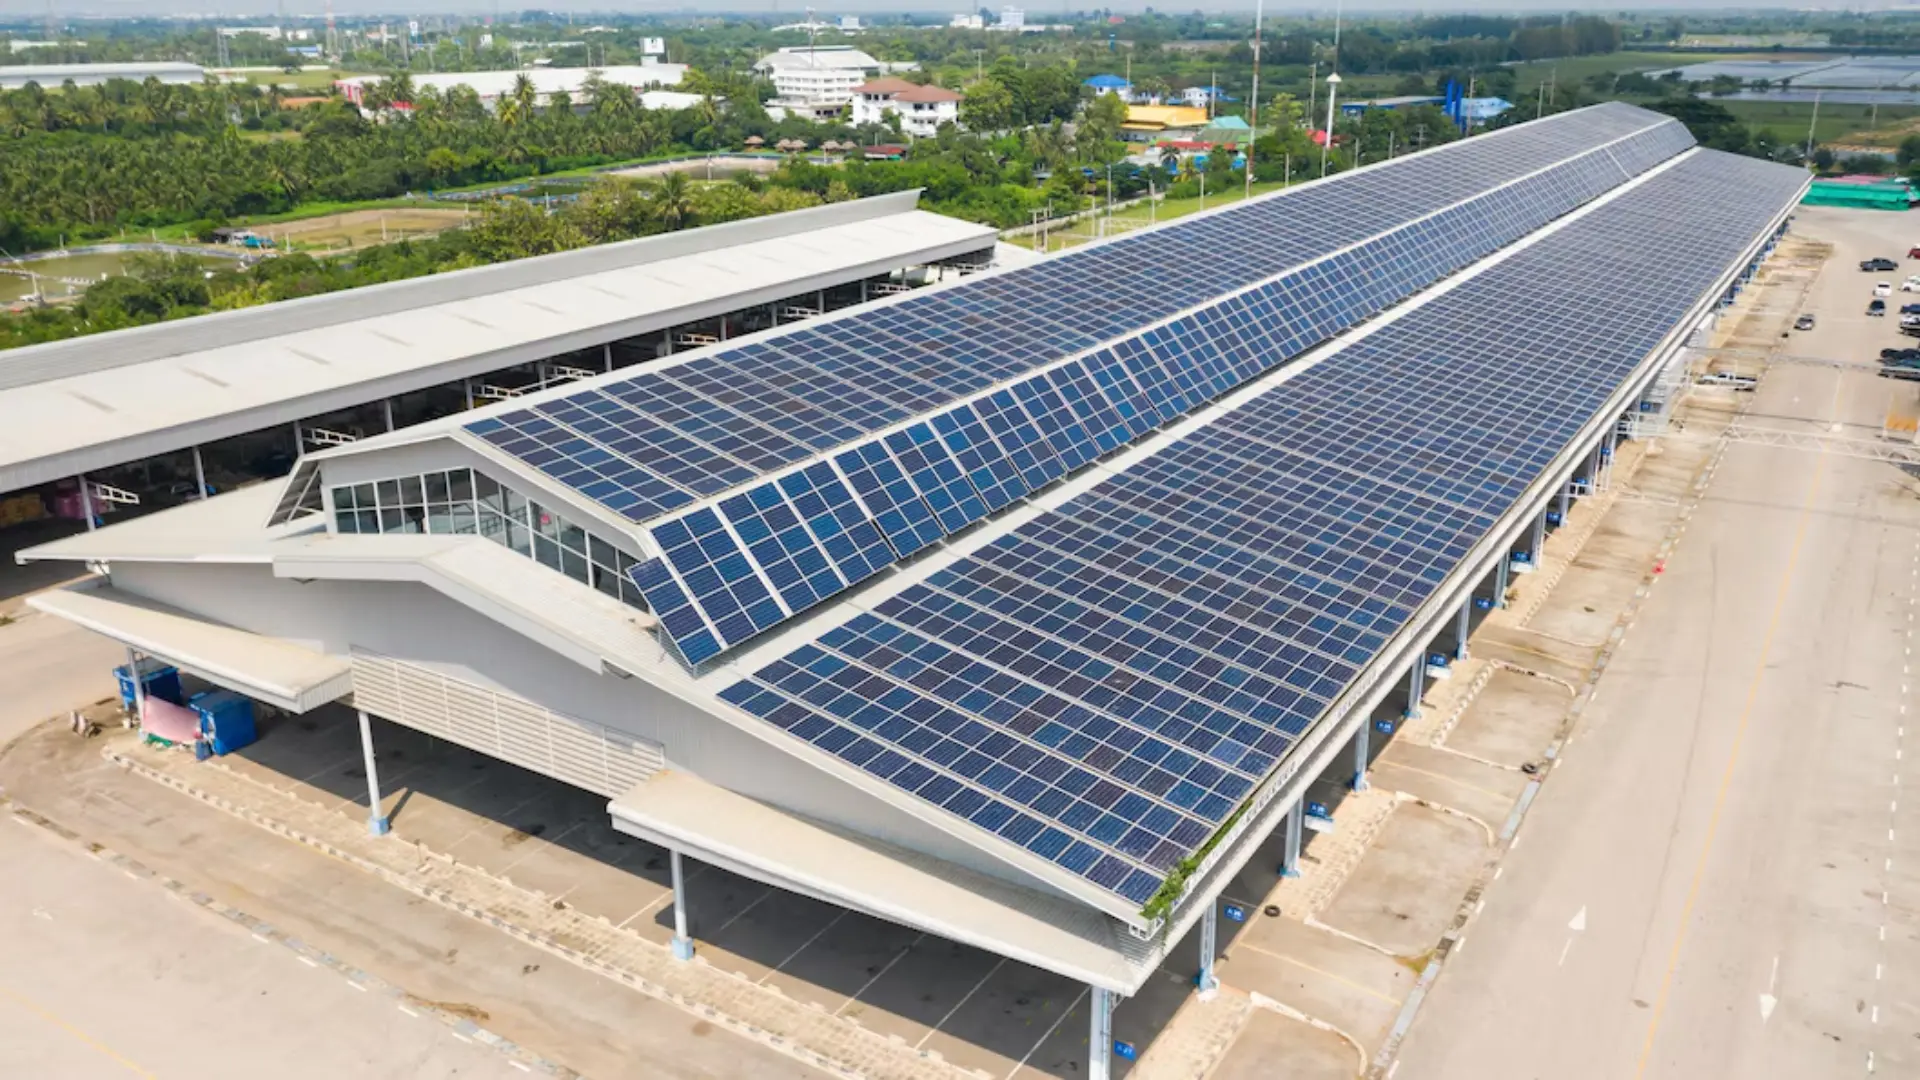
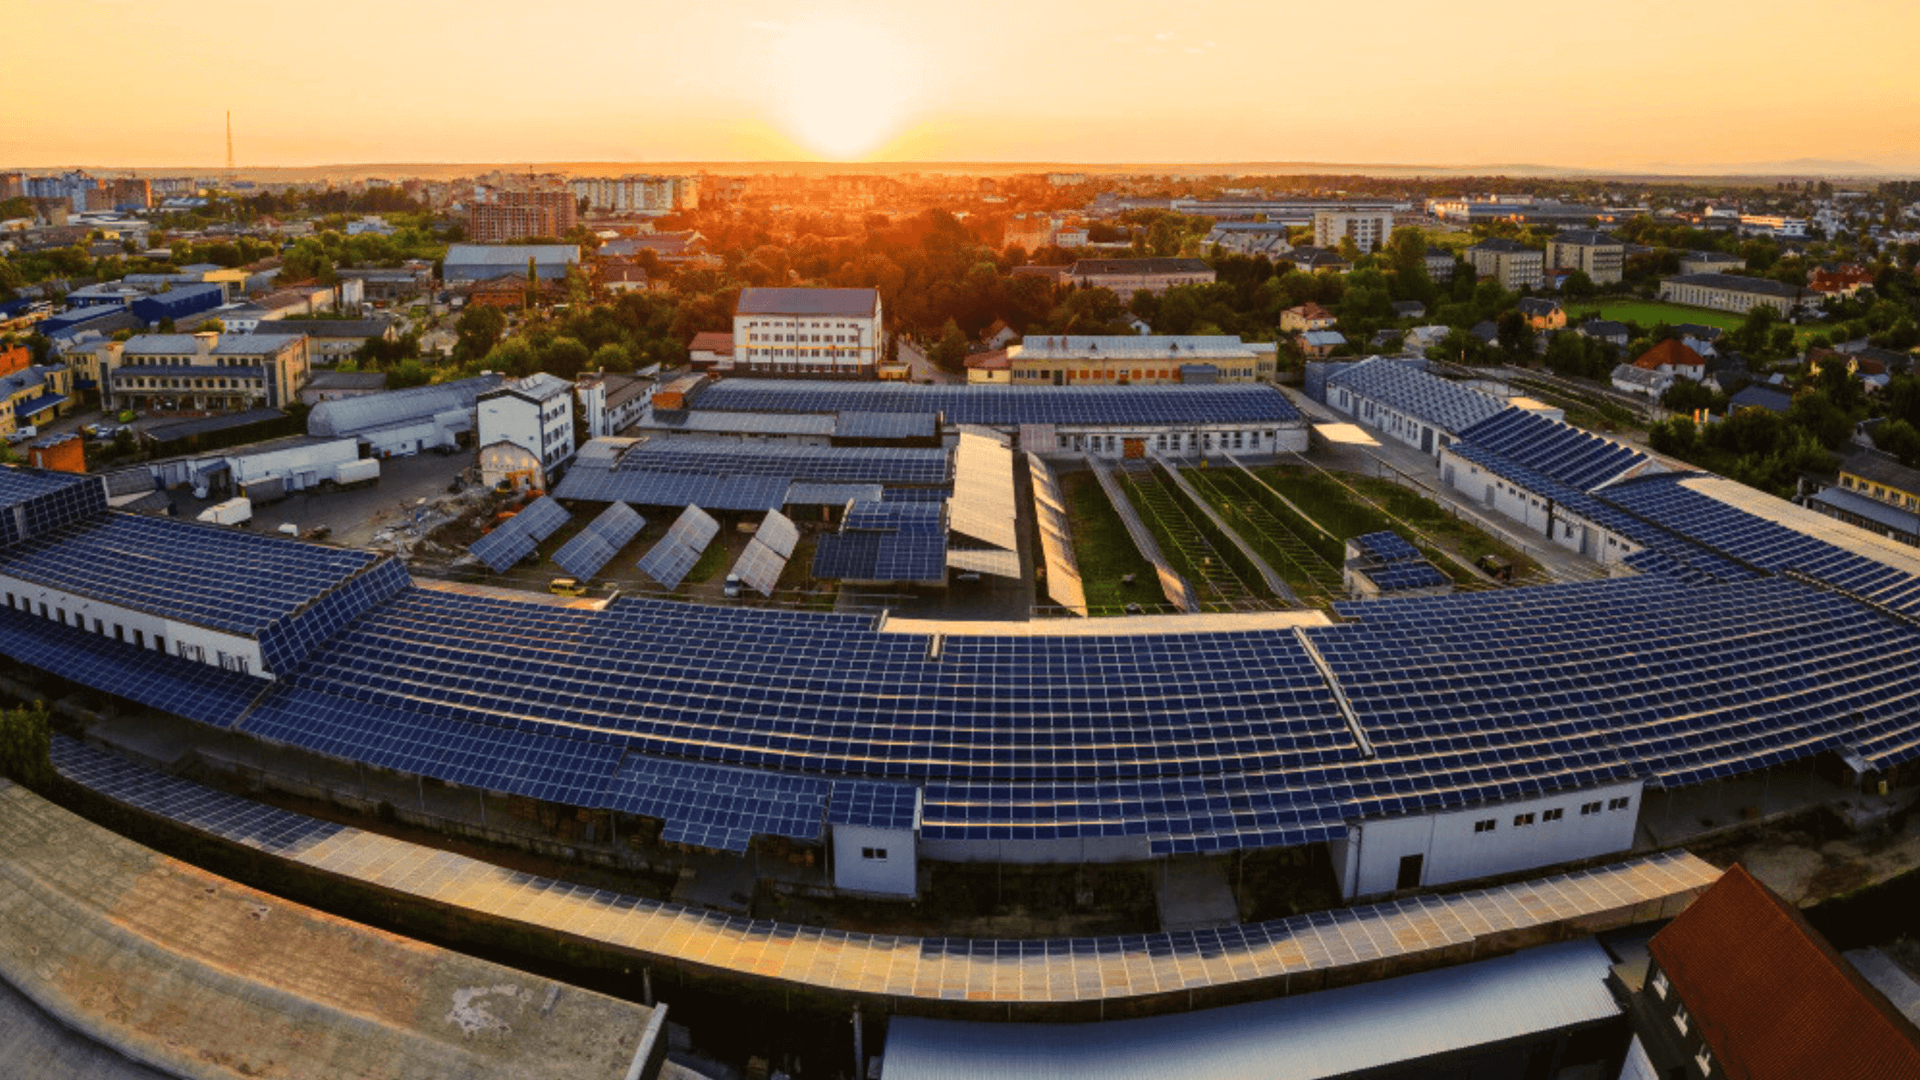
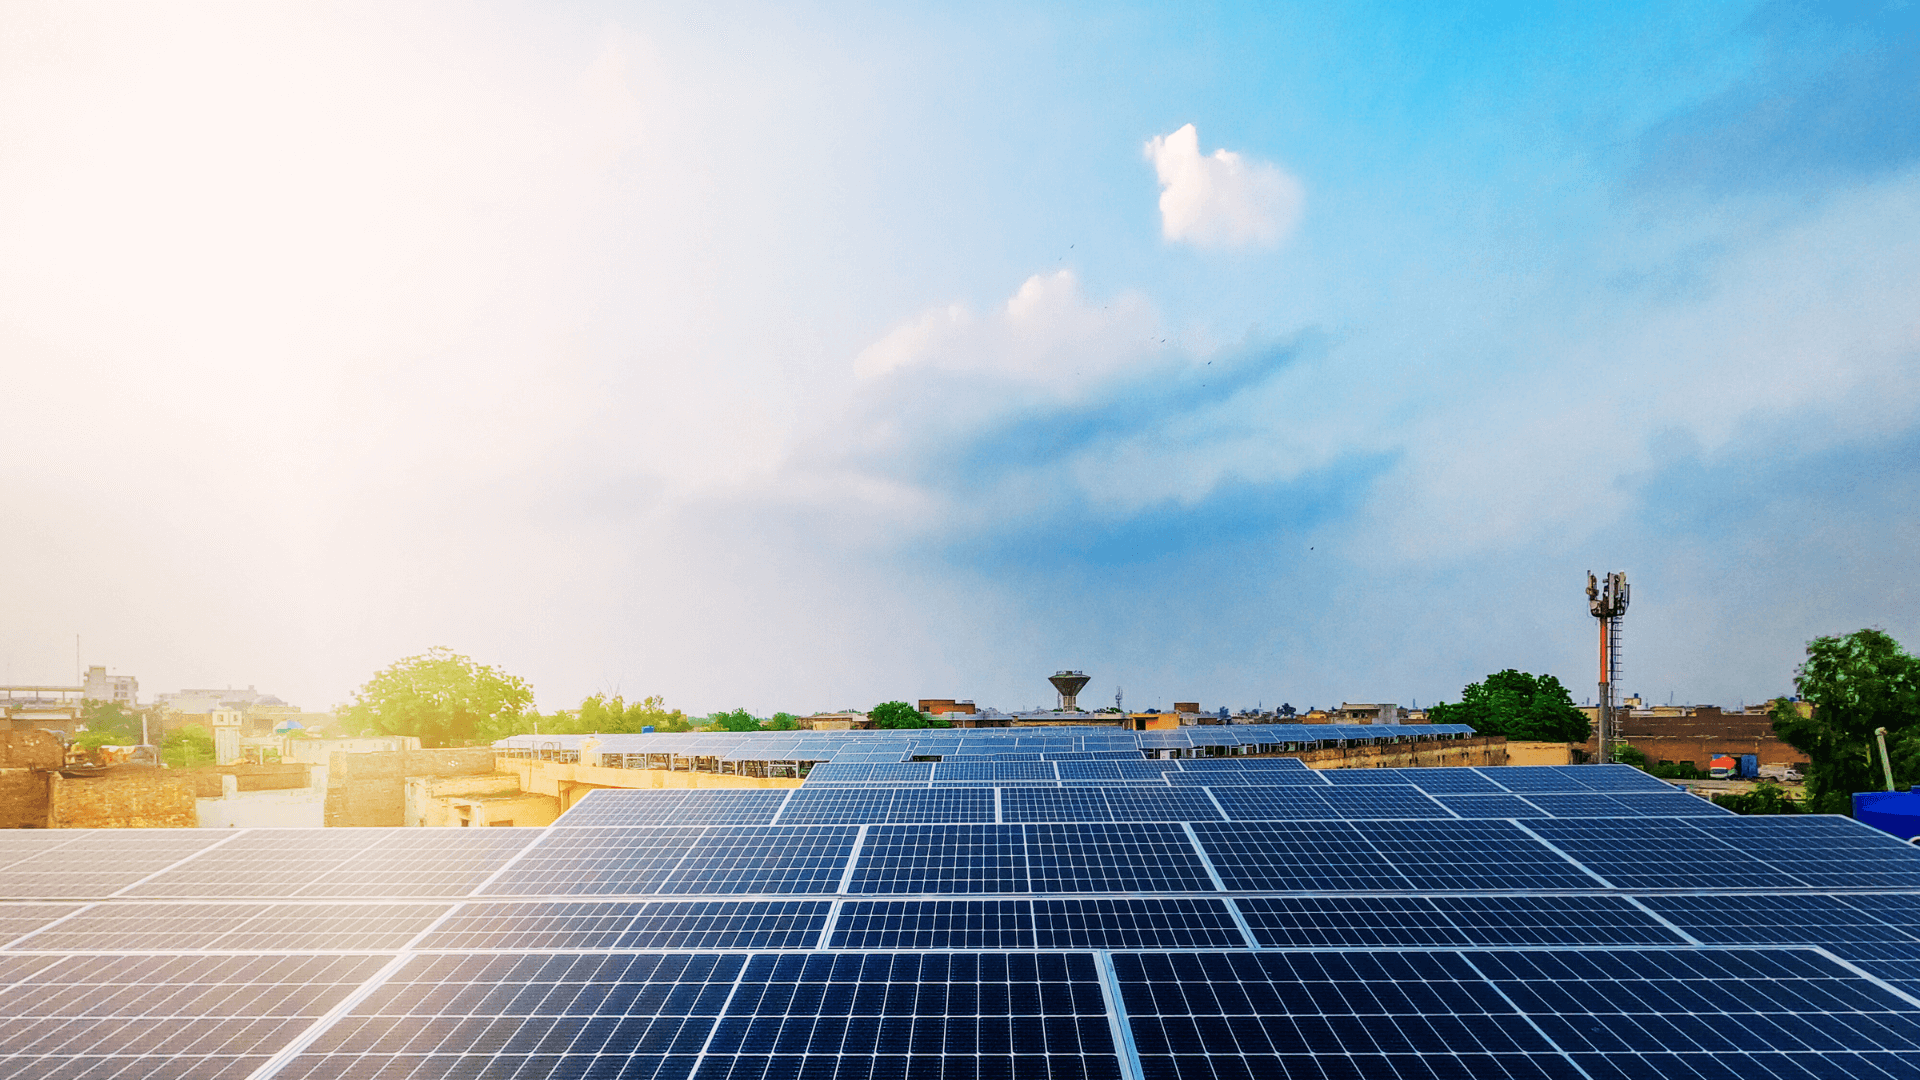
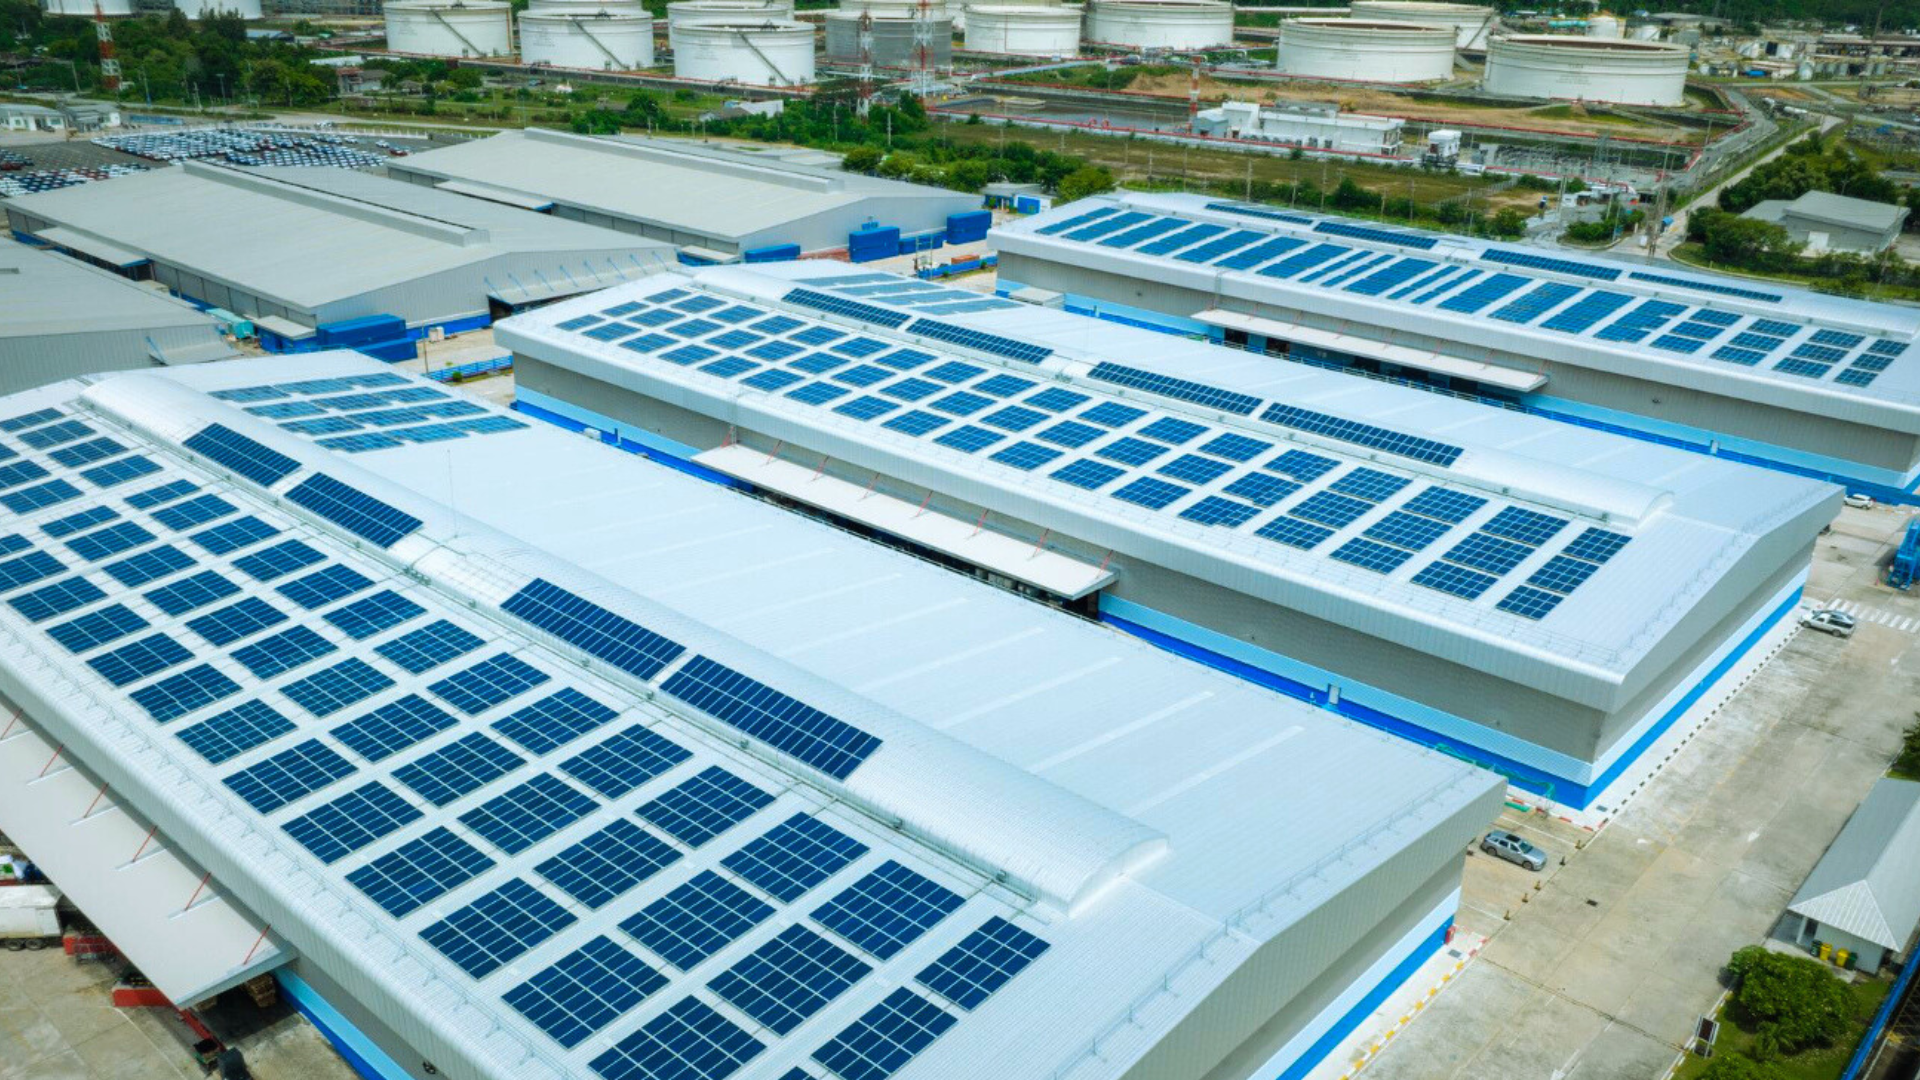
Switching to solar energy is a game-changer for reducing electricity bills and minimising carbon footprints. Solar panels harness sunlight to produce clean, renewable energy, making them an ideal investment for eco-conscious homeowners and businesses. Embracing solar power not only contributes to environmental sustainability but also enhances property value and energy independence. If you’re considering installing solar panels, understanding the solar panel installation process is crucial.
This guide provides a comprehensive walkthrough, ensuring you’re well-informed and ready to embrace this sustainable and clean energy source. With this step-by-step guide, you can optimise efficiency and safety at every stage.
Starting with Solar Panel Installation
Installing solar panels involves careful planning, precise execution, and adherence to safety standards. The installation process may seem daunting, but with the right guidance, it becomes smooth. Understanding the steps involved in the installation is essential for ensuring a successful solar setup. From selecting the right components to completing the final connection, each stage plays a vital role in achieving optimal performance and longevity of the system.
Step-by-Step Guide to the Solar Panel Installation Process
Solar panel installation involves careful planning, including assessing roof conditions, evaluating shade periods, and ensuring proper alignment for maximum efficiency. Understanding the process will empower you to make the most of this eco-friendly investment. Start with an initial consultation with an expert electrician from the service provider.
Installing the Solar Mounting Structure
The foundation of your solar panel system is the mounting structure, which ensures the panels are securely positioned for maximum efficiency. This step is critical to achieving long-term durability and performance.
The solar mounting structure must be placed in a direction and angle that optimises sunlight exposure. In the northern hemisphere, panels typically face south. Adjust the tilt to match your geographical latitude for the best results. Ensure the structure is installed on a stable surface to withstand environmental conditions such as wind and rain. Proper roof orientation and available roof space are essential considerations.
Mounting the Solar Panels
Once the mounting structure is in place, it’s time to attach the solar panels. Proper alignment and secure attachment are crucial to maximise energy production and minimise maintenance needs.
Solar panels must be mounted with sufficient spacing between them to allow for thermal expansion and maintenance. Use high-quality panels and strong fixtures to prevent corrosion and ensure durability. Also, regularly inspect the fixtures to maintain structural integrity over time.
Wiring and Interconnection of Solar Panels
Proper wiring is essential to connect your solar panels to the inverter. This step involves connecting multiple panels to form an efficient energy-generating network.
Decide whether to connect the panels in series (to increase voltage) or parallel (to increase current) based on your system’s requirements. Always adhere to safety protocols, such as wearing insulated gloves and ensuring the power is off during the wiring process. Use high-quality cables and connectors to minimise energy losses and enhance safety. An expert in rooftop solar installation will be able to help you with the right procedures.
Connecting the Solar Panel Array to the Inverter
The inverter is the heart of your solar energy system and converts the Direct Current (DC) generated by the panels into Alternating Current (AC) for home or business use. A well-connected solar inverter ensures efficient energy conversion and minimises energy loss.
Connect the solar panel array’s positive and negative terminals to the corresponding inputs on the inverter. Double-check the polarity and secure the connections to prevent energy loss or damage. Use cable ties and protective coverings to organise and safeguard the wiring.
Connecting the Inverter to a Battery (For Off-Grid Systems)
If you’re setting up an off-grid solar energy system, integrating a battery for energy storage is essential. Batteries store surplus energy for use during nighttime or periods of low sunlight, ensuring uninterrupted power supply.
Attach the inverter’s output to the battery’s input terminals, ensuring correct polarity. Use a charge controller to regulate the energy flow and prevent overcharging or deep discharging of the battery. Regularly monitor the battery’s health to maintain its efficiency and lifespan.
Connecting the Inverter to the Power Grid (For On-Grid Systems)
For on-grid systems, connecting to the power grid allows you to feed excess energy back into the system, reducing electricity bills. Grid-tied systems also provide backup power during peak usage periods.
Use a bi-directional meter to measure energy consumption and excess energy sent to the grid. Follow your electricity board or power distribution companies’ guidelines for seamless integration. Ensure compliance with grid connection standards and acquire necessary permits before proceeding.
Turning on the Inverter
Once all connections are complete, the system is ready for activation. This step marks the transition to solar energy with a fully operational solar power system. Remember that without written approvals from local electricity distribution boards (MSEDCL, KPTCL, BESCL, GSECL, or Tata Power and Adani Electricity Mumbai Ltd.). Your rooftop solar power plant provider will be able to complete this process smoothly for you.
Once you have the approvals, you can switch on the inverter and check for any error messages. Monitor energy production using the inverter’s display or a dedicated app to ensure optimal performance. Regularly track energy statistics via the service provider’s app to identify any potential issues and optimise energy usage.
Earthing
Proper grounding is essential for the safety and longevity of your solar system. This involves creating an earthing pit filled with conductive materials like salt and charcoal to dissipate electrical surges safely. Connect the system using high-quality GI or copper wires to a grounding rod, ensuring compliance with local electrical codes. Inspect the grounding system every six months to maintain effectiveness and protect against fire or electrocution.
The earthing mechanism uses galvanised iron (commonly used for grounding in India due to its cost-effectiveness), galvanised steel, or mat earthing. Grounding protects the system from electrical surges and reduces the risk of fire or electrocution. Connect the earthing wire to a grounding rod driven deep into the ground, following local electrical codes. Inspect the grounding system periodically to maintain its effectiveness.
Conclusion
Solar installation loan for Solar panel installation, offers a systematic process that transforms sunlight into usable energy, helping you save money and reduce environmental impact. By understanding each step — from installing the mounting structure to connecting the inverter — you can ensure a smooth and efficient setup. Embracing solar energy provides not only immediate cost benefits but also long-term environmental advantages. Professional solar installation services from a trusted solar installer are worth the investment for safety and reliability. With a well-installed system, you can enjoy energy independence, lower utility bills, and the satisfaction of contributing to a brighter future. Take the first step towards sustainability and make solar adoption a reality for your home or business.
FAQs
How much is a solar system for a 2000 sq. ft. house?
The energy needs of a 2000 sq. ft. house can be met by a 7kW power plant. Typically, it ranges between 4 to 5 lakh rupees. This will change as per the current subsidy plan. Additional costs may include maintenance, battery storage, and grid connection fees. Consult local solar installation companies for precise estimates and explore government incentives to reduce upfront costs.
Can I install a solar panel system myself?
Yes, you can install a solar panel system yourself if you have the necessary skills and tools. However, professional installation is recommended to ensure compliance with safety standards and local regulations. Keep in mind that professional installation often comes with warranties and ensures adherence to local codes, providing peace of mind and long-term reliability.


